The most common question I get from people who first find out I enjoy rocketry (after – “is it legal?”) is how the rockets are built, and what kind of tools do I use. I’ve recommended my own blog of course, but realized the level 3 build which started this blog didn’t discuss any tools, or core manufacturing techniques at all. So, this will be a short tour through my workshop.
First, what I’m not going to show you – the “base” of my workshop looks a lot like someone poured a mechanic’s garage into a woodworkers toolshed, and threw in some culinary equipment. Drill press, table saw, giant mixers, scroll saws, bench sanders, and lots of tools. Nothing really special here,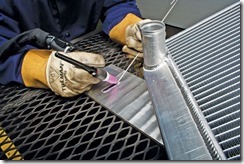 and I’ve tended to go cheap (think Harbor Freight) on many items because I just don’t use them often
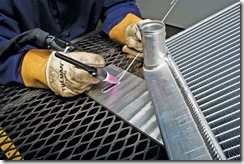
 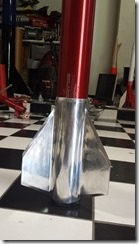 enough to appreciate the difference. I guess the one tool in this area that is not found in your average garage is a TIG welder. There are some areas in rocketry in which there is no better alternative then metal, in my case, aluminum. Think motor cases, push rods, even fins. This is an alternate view of my 99 mm aluminum tig-welded fincan that fits perfectly over a 98 mm motor case, which I will be using as the booster section of a minimum diameter sounding rocket I am working on.
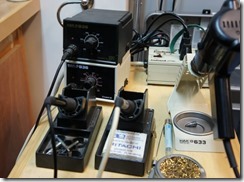 The fun begins with equipment not often found in your typical shop. I build a lot of electronics for fun, including custom electronics for rocketry. While the boards themselves are milled on my cnc machine (which you’ll see in a bit), most of the fun is in my basement office, which happens to also
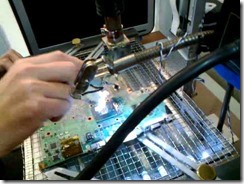 be a good soldering bench. With the number of soldering guns and stations I own, you would think I’d be good at it by now, but I’m not. I’m like the baseball player that can’t hit the ball, but sure can run the bases. In this case, I often stumble in the original build, but I’ve gotten really good at reworking a board. In fact, my reflow and rework station equipment is professional grade including IR camera’s and a robotic arm to help my sausage fingers manage the tiny SMT bits and pieces being made today. One of my old hobbies was collecting vintage computers, which provided me hours and hours of electronics board repair training. At one point in my life, I was lucky enough to own an Apple 1, and successfully brought it back to life. I’ve also spent a week rebuilding the electronics in a McDonalds happy meal that stopped working, and brought my eldest daughter to tears……
Next up is a filament winder. This is a computer controlled machine which which allows me to make the rocket sustainers, and other parts out of any kind of filament. Think carbon fiber, fiberglass, Kevlar. basalt, etc. These highly specialized machines normally cost 50,000 to 100,000 dollars. An enterprising guy named Turner Hunt decided to try and make a hobby version, and launched a kickstarter . The first one didn’t go so well, but the second was successful. The entire machine is built with 8020 extruded aluminum, and the same stepper motors I use in 3d printing. The secret sauce is in the software, which can control the number of wraps, and the angle of each wind to create very specific circumferential, or longitudinal tensile strength.
I have done extensive development in openscad to allow me to model different winding angles and build the profile perfectly before even starting a part. In this video I am winding a 6” diameter carbon fiber sustainer, which you will see fly in a video later this year. You can see more videos of the filament winder on one of my YouTube channels.
My second favorite tool is my home made CNC machine. a CNC machine is basically a router, or spind
le bolted to a computer controlled gantry. I sure do love tools controlled by computers! In this case, I can build on my computer exactly what I want cut out in 3 dimensional space, then the CNC machine will do all the work to very, very tight tolerances. Makes things like fins, AV bays and centering rings trivial to make to exact specifications. What is really exciting about a CNC machine is it can go well beyond the basic building blocks, to build extremely complex parts. The x-15 build lower on the page c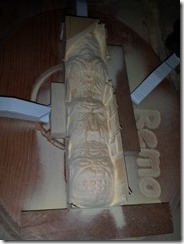 ould not have been built without a CNC machine. In this video, one of my daughter’s had designed her pinewood derby car on the computer, and we let the CNC machine do all of the work. Needless to say, she won first place in the “best design” category.
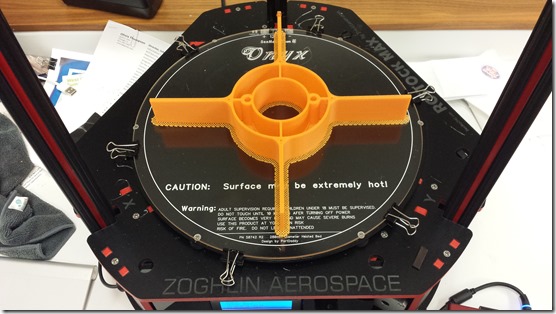 While I’ve talked about 3d printing in a previous post, I should point out I now own 6 different 3d printers, each one getting bigger, and more complex. The “Zoghlin Aerospace” delta printer to the left can build objects over 12” in diameter, 3 feet high. In this photo, it’s building a 4” rocket with integrated fins, and all internal components except the electronics are integrated as it prints. printing the entire rocket at once allows you to build extremely detailed rockets that would be very time consuming, if not impossible using traditional techniques. In the photo b
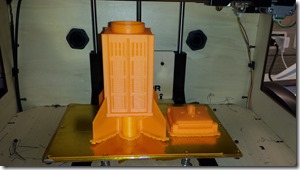 elow I was able to integrate a complete Dr. Who callbox into a rocket, and print out the entire rocket and flat nose cone at the same time. As you can see with the green rocke
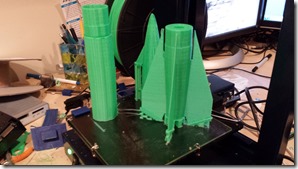 t, I can also create traditional rockets, and print out all of the parts at once. If you would like t0 see more, I have several rocketry related 3d prints available on my account thingiverse including
  modular 38 and 54mm rockets, rocket camera holders, and most of the parts for a complete Saturn V (photo of it completed is lower down on this page).
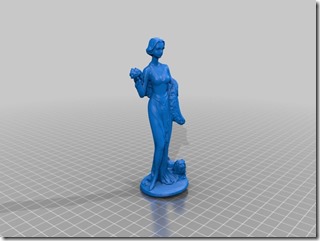
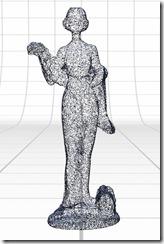
While I use a lot of 3d modeling software products including Inventor, Solidworks, Aspire, there are times when you just want to make a copy of something physical. I have three laser scanners, and a structure I/O device which allow me to take real objects and dynamically build models out of them. In the photos below, I scanned a statue of wife. The laser scanner interprets the statue as tens of thousands of points in space (called a pointcloud). I can then use this pointcloud to create a mesh, which ultimately creates a 3d model. The blue version is the finished 3d model, which looks exactly like the original statue. I’ve scanned lot’s of things, and once again you can find them on thingiverse if you have any interest.
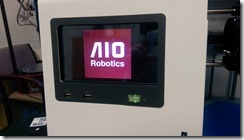
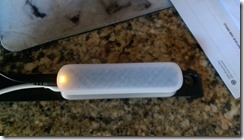
Most of the laser scanners are like the my AIO robotics – a moving platform, and a scanning laser combine to create slices of an object. This works great for small objects, but when they start to get big, it becomes more and more expensive, not to mention the time to get a working model. The Structure I/O (object with a white cover on it) connects to my iPad, and uses the iPad camera, combined with it’s own depth sensors to build models in real time by just moving the iPad around an object. This allows me to get much larger objects, vehicles, people, architectural accents, etc. I scanned my youngest daughter with the structure I/O, then used the model to create a rocket noscone that looked exactly like her head. I scanned a Harpoon missle at the museum of science and industry, then used the dimensions to assist with the harpoon you see lower in the website.
My last major toy is a laser cutter. I don’t need to say much about this one, it’s a big freakin’ laser, controlled by my computer, that can cut almost anything. The version I have is an industrial one, I always keep an eye out for manufacturing equipment that looks like it’s being sold cheap on craigslist. In this case, I was able to get a commercial very large 100w laser with lot’s of accessories (liquid chiller, blower, exhaust system, auto-focus, red dot) for a fraction of the cost of even a low power hobby one.
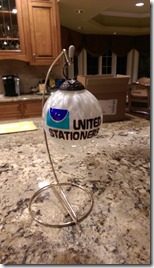
I have other “toys” in the workshop, like a mini-mill and a 4th axis router, but they are just variations of the wonderful machines I’ve already highlighted. Finally, as I’ve become more proficient in the computer controlled machines, I’ve been able to branch out, and build similar machines that don’t go into my workshop, but are used by the family for other crafts. Below is my Christmas ornament maker. It’s a CNC machine for designing Christmas ornaments. Instead of a spindle, we just put a pen, and away it goes.They made great presents this year.
Leave a comment